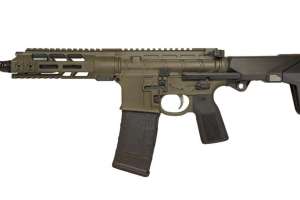

AR dust covers — the utilitarian feature to stall grime — serve other purposes today. They deliver messages, wear head-turning finishes, declare patriotism and glow in a rainbow of colors.
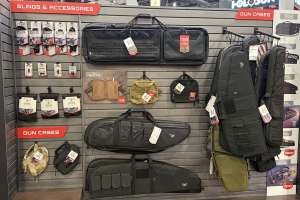
Aftermarket versions are popular, despite the fact they don’t shrink groups, improve follow-up-shot speed or enhance performance. Most tactical retailers limit their inventory to a few popular versions, if any at all. We’re not suggesting your store invests in more stock. You know your customers better than anyone, but there’s something in the trend to consider.
Thousands are sold each year. Many, if not most, are gifted to a gun owner. A lot of the recipients never considered ditching their factory-installed dust cover, but they often feel honor-bound to replace it. A swell of relief follows once YouTubers, bloggers and firing-line companions explain the process is Kindergarten simple.
It is easy — well most of it. It’s that tiny C clamp that hides in a tight corner that becomes a problem in unpracticed hands. It’s stingy and capable of vanishing without a trace. Odds are good you’ve had more than a few customers who’ve lost theirs during a DIY installation come looking for a replacement or help.
Why not offer in-store installation when a customer buys one? News travels fast around firing lines, and owners whose shade-tree attempt failed will be excited to learn help’s nearby.
With experience, the process is fast and easy. For the uninitiated, a budget-friendly tool designed specifically for the job keeps the 1/8-inch clamp tightly captive during replacement, when it’s capable of leaping over tall buildings.
The steps, as always, begin with mandatory safety procedures. Keep the gun pointed in a safe direction and engage the safety if it is not already in that position. Remove the magazine, then work the charging handle and inspect that no cartridge remains. Double check and use a flashlight if necessary.
Open the selected replacement dust cover, inventory parts and inspect for blemishes or imperfections that might impede installation. If a customer who attempted the process came in for help, tell them to take a few breaths — you’ll be done in a minute or two. If they managed to get everything else together correctly, skip to step nine.
Lay the gun on your work surface, ejection port up. Put painter’s tape or protective product on the forward assist to prevent scratching. Things can get airborne, so don eye protection.
Push the dust cover rod as far forward as possible from the rear of the gun — toward the muzzle. That moves the notorious C clamp away from the receiver and provides room for the next step. Close the dust cover.
Rotate the C clamp until its open end is down, then grasp the clamp with needle nose pliers or tweezers capable of maintaining a tight grip. Give it a firm tug. You may need to nudge it with a small screwdriver, but be careful not to mar the gun’s finish.
Once removed, push the rod out, toward the firearm’s rear. Keep one finger on the spring to prevent its loss. Don’t be surprised if you need to use those pliers to get the rod completely out. Then, remove the old dust cover and place aside with the other parts.
Place the new dust cover on the ejection port and ensure its holes index properly with those on the receiver. Make sure the side with the groove that holds the C clamp goes in first, then push in the new rod. Stop when a section of the rod appears in the cover’s center “window.”
Place the replacement spring on the rod, small wire atop. Then gently grab its long end and turn a full 360 degrees clockwise until it rests back on the dust cover. That applies the pressure to open during shooting.
Hold the spring down so it mates with the holes and push the rod toward the barrel until it stops. Carefully close the dust cover and ensure it opens as designed by working the charging handle.
Finally, with the new cover closed, use needle nose pliers or tweezers to firmly grasp and push the new C clamp onto its rod groove. Inexperienced hands that fail to maintain full control usually send it flying to parts unknown. That gunsmithing tool for the task makes process foolproof. It’s an inexpensive timesaver for this value-added service.
The process is complete, and it’s time to hand the AR back to the owner for a close look. Hand them a card before they leave. Their friends back at the range with gifted dust covers in a drawer will want to know where to go for help.