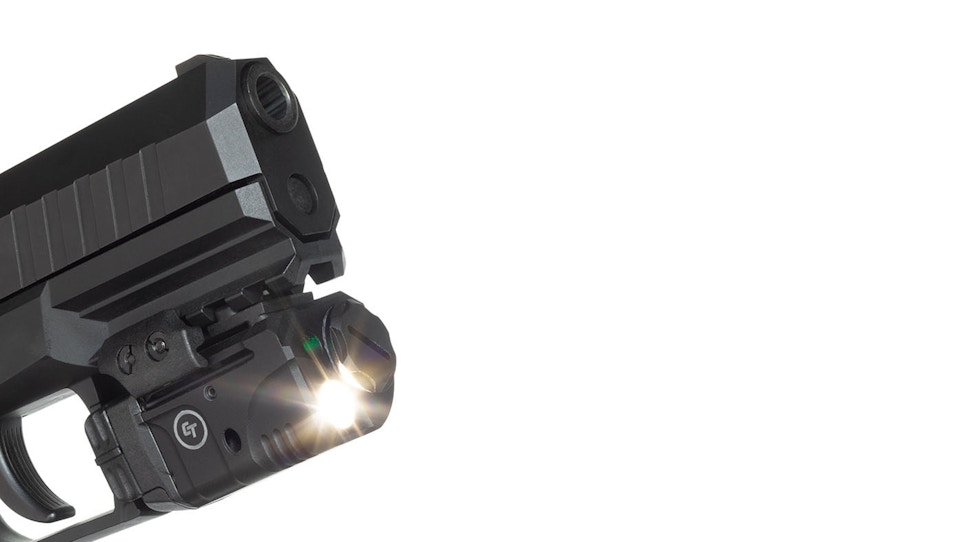
The crowds and long lines in your store during the pandemic and widespread social unrest have likely dissipated. Odds are good, though, you’re among those in the industry still experiencing sales above 2019 levels. Part of the reason for that increase during these moderately normal times is the hunger to feed and accessorize the more than 40 million firearms that went to new homes during that troubling period.
There’s more at work, though. According to a survey by the National Opinion Research Center at the University of Chicago, 40 percent of those guns went to first-time owners. Those initial purchases came when inventories were painfully low, supply chains strained and self-defense products scarce. The new enthusiasts are ready to accessorize, and the right products are finally back on shelves.
Perhaps more notable is the fact that the study found slightly more than half of those new firearm owners during 2020 and 2021 were between the ages of 18 and 29 years old. Before the pandemic, this age group represented only 14 percent of purchasers — and those youthful enthusiasts rarely shy away from harnessing the advantages of the technology they know so well.
There’s no denying the effectiveness of a weapon light/laser on a self-defense pistol, and today’s young people are intimately familiar with their performance and reliability. There are no long sales pitches required, and offering to mount the one they choose will go a long way toward building a profitable, long-term relationship. Sure, they can do it at home, but why not offer the fast-and-easy value-added customer service?
Make sure they selected an appropriate make before you begin, though. Many carry guns have limited dustcover rail space, making it impossible to mount a full- or even medium-sized light or laser. In some cases, the activation paddles may invade an undue amount of space inside the trigger guard. Today’s generation of micro models are a better choice in that situation, but the concern of holster compatibility is a universal one, regardless of their choice. Green versus red dot, battery life, automatic shutoff and a lot of other factors deserve discussion before beginning.
The process starts where they all do, with unfailing attention to gun safety. It’s always first and foremost. Keep the gun pointed in a safe direction and engage the pistol’s manual safety if it has one.
Depress the magazine release and remove the magazine. Place it away from your work surface.
Lock the slide back and check there is no cartridge remaining in the chamber. Look twice and use a flashlight if necessary. Afterward, you can release the slide and allow the gun to go back into battery position. The task is slightly less cumbersome that way.
Open the selected weapon light/laser unit’s package and inventory parts. Check for cosmetic blemishes and consult with the manufacturer’s instructions. Installations vary widely, along with battery positions and clamp style, so familiarize yourself with those nuances if you aren’t already familiar.
Now turn over the pistol and take a close look at the rail. Remove dirt and grime as necessary to ensure the kind of solid grip that will last for years. The last thing any tactical retailer needs is something working loose at the range and the customer complaining about your lack of expertise to his or her shooting buddies. Note any scars and blemishes that may limit mounting location or inhibit installation.
Loosen or completely remove the selected weapon light/laser clamps. If the unit includes several mounting adapters, consult the manufacturer’s instructions and install the one prescribed for the pistol.
Index the light/laser in the dustcover rail, selecting a position that allows intuitive access to its controls without invading an undue volume of trigger guard space. Adjust position as desired, and enlist plenty of input from the customer who’ll be using it. Then ensure activation switches or paddles operate freely and properly.
When satisfied, replace and/or tighten clamps according to the manufacturer’s instructions. If recommended, apply thread-locking compound — of the non-permanent kind (blue) — and, while snugging down, apply gentle but firm pressure toward the muzzle on the unit. Doing so ensures solid contact with the front of that groove, minimizing the chances it will shift under recoil.
Finally, install the battery or batteries. Function test and, checking again that the gun is safe, allow the owner to check the light/laser controls are situated properly for their hand size and grip.
Remind the customer that red or green laser dot still needs sighting in, though. Provide them the manufacturer’s instructions on the procedure or, if it’s a slow day, toss in a laser bore-sight and tackle the task for them.


