Modern sporting rifles lend themselves to upgrades and are configurable to fit a variety of different needs — primary reasons they and the accessories they wear are always in demand. Every upgrade is a trade-off of some sort, however, and experienced tactical retailers routinely educate customers on potential drawbacks before they purchase. It’s a wise long-term investment that builds loyal patrons.
The aftermarket folding stocks you have in inventory are a good example. They save space in a gun safe, are convenient during travel, look good and continue to be a popular modification. Installing one increases weight, however, along with part count, stock length and usually field-stripping steps.
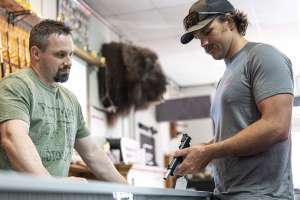
They are, however, an ideal solution for many AR owners. Since incorrect installation can convert that AR into a single-shot, it’s a prime opportunity to offer the service at the counter. The process isn’t complicated and, while the buttstock, buffer tube and assembly are off, it’s also a chance for other upgrades before reassembly.
After the customer has selected the folding stock adapter they prefer, open the package and inventory parts. Inspect for burrs and cosmetic imperfections before proceeding and work the hinge to ensure it operates smoothly and as designed.
Consult the instructions and keep them nearby as you work. No two units are the same, and missing a step adds undue time to a relatively speedy process.
It goes without saying, but — keeping the gun pointed in a safe direction — engage the safety, drop the magazine, work the charging handle and inspect the chamber to ensure no cartridge remains. Double check. Move the magazine away from your immediate work area.
Depress or remove the takedown pins and separate the upper and lower receivers. Set the upper aside for now.
Apply pressure on the buffer weight while depressing its retaining pin. Carefully allow the weight to glide forward and out. You should now be able to remove the spring from the buffer tube, although it’s often easier to “unscrew” it for complete extraction.
Use an armorer’s wrench to loosen the castle nut that holds the buffer tube to the lower receiver. A padded lower receiver vice block may be required if it is staked or extremely tight. After a few turns, pull the tube lock back toward the recoil pad. Then unscrew the buffer tube and entire stock assembly by hand.
Consult the device’s instructions to ensure the folding-stock adapter orients properly before mounting. Thread a castle nut on the receiver side of the adapter first — notches toward the new unit — followed by the tube lock with protrusion the opposite way. Mount the adapter, making sure takedown springs or other prescribed parts install properly.
As the unit threads onto the receiver, a hole or slot will index with the receiver’s buffer weight retaining pin, affixing it solidly into place. The company may call for backing things out slightly to maintain proper bolt carrier group and weight distance, so double check before proceeding.
Seat the tube lock protrusion into its lower-receiver slot. Now, use the armorer’s wrench to tighten the hinge adapter to manufacturer’s specifications.
Thread a castle nut onto the other side of the adapter, slots away from the hinge, followed by the other tube lock (protrusion toward the hinge adapter).
Now’s a good time to ask about upgrades. Length of pull may be of particular concern after this upgrade, particularly if the AR has a fixed-length stock.
If the customer is satisfied with their current setup, it’s time to mount the buffer tube and stock, threading on as prescribed in the instructions. Double check settings — distance is critical for that buffer spring — ensure the stock is vertically aligned, properly align the tube lock and tighten with an armorer’s wrench.
Install the buffer spring and buffer weight next. Then check that the hinge operates as designed, smoothly and efficiently.
The added length in the operating system requires some sort of an adapter to maintain contact with the buffer weight. That’s accomplished with a bolt extension that simply presses into the back of the bolt carrier group. In this unit’s case, it is held firmly in place with a pair of O-rings, along with the spring’s pressure.
Once that’s in place, reassemble the gun, do a safety check and ensure everything operates as intended. Now you’re ready to hand the AR back to the customer to check length of pull and familiarize themselves with the new folding stock.
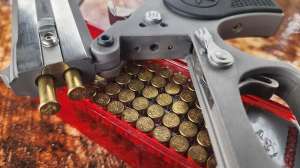
Don’t forget to remind them that they need to function test it with live fire. You might also mention in passing that you have plenty of ball ammo in stock.