With today’s tight margins, increased marketing costs and the weed-like growth of competition, where can you find an edge without bleeding budget or draining undue manpower hours? Good camera photos of the guns in your counter are a start, and you probably have the point-and-shoot digital required sitting around the store or at home.
I know what you’re thinking. You’re no photographer. Don’t want to be, and can’t afford one. And the gear is more expensive and confusing than a CERN Higgs boson particle announcement.
Unfortunately, when it comes time to purchase advertising — anywhere — photographs carry strong appeal. Then there are those viral and semi-contagious social media images that enhance company name recognition, ultimately improving return on paid ads or generating calls.
Admittedly, I’m no expert in the approach — and terms-of-use agreements on many websites preclude posting firearms for sale — but smart companies are building their brands and staying in good graces on the outlets by going largely informative.
How do you get those images without hiring another person or going broke? You or someone on your team is going to pick up a camera, and before you invest in expensive gear, take a close look at the point-and-shoot you have hanging around.
Rather than diving into the exact mechanical requirements of photographs in a paid print ad, which should be provided by your sales representative anyway, it’s easier to remember this rule of thumb: Reproduction improves as megapixel count increases. Crop into the photo, maybe bleed it off the page, and it’s a pretty safe bet 2- and 4-megapixel point-and-shoots aren’t going to get the job done. There are exceptions (albeit not many), but the odds are good what you’re using at home right now has at least double or triple that resolution — probably more.
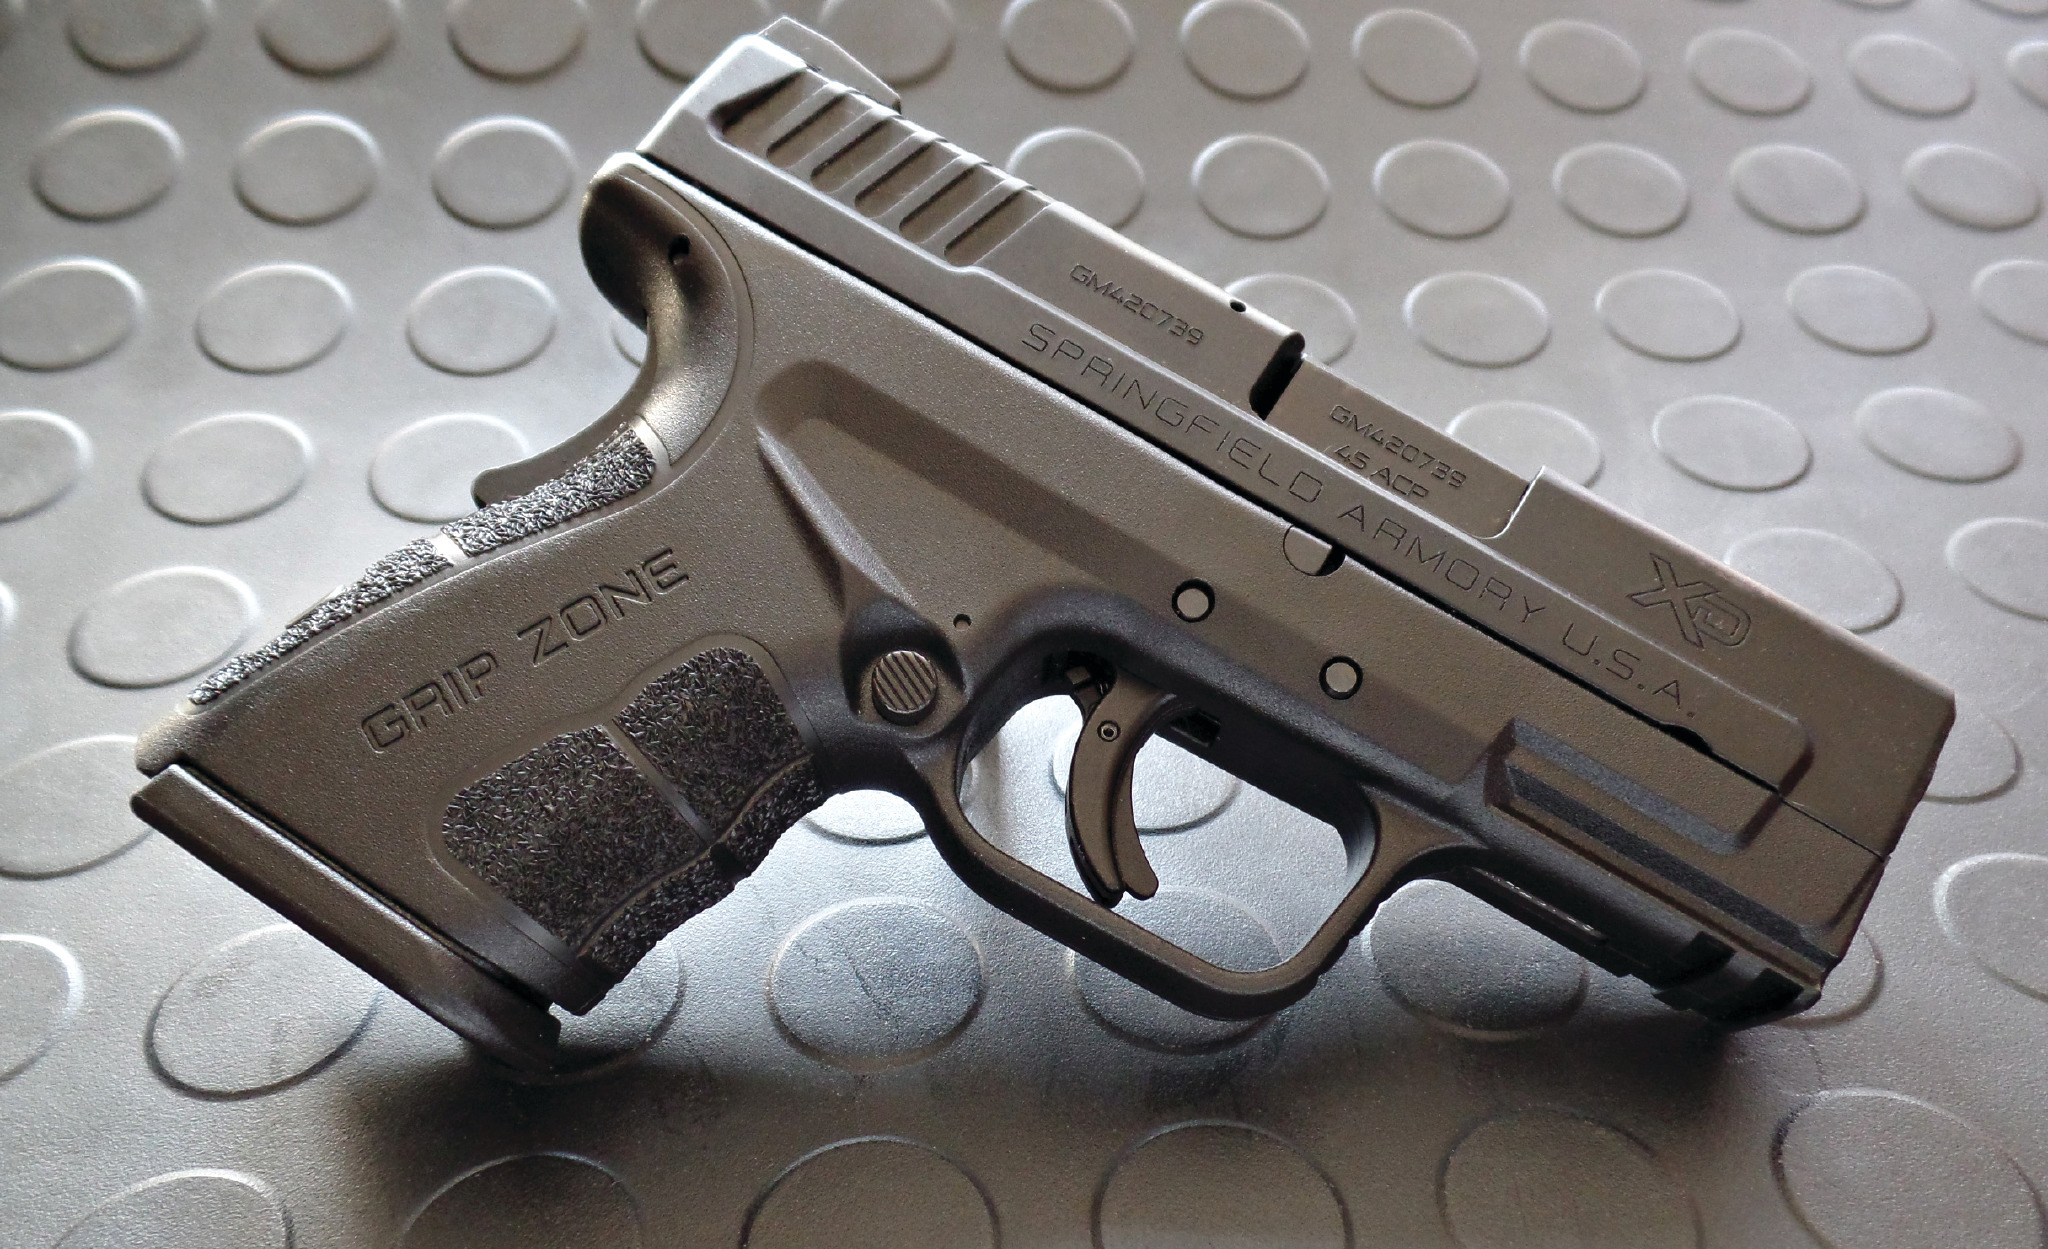
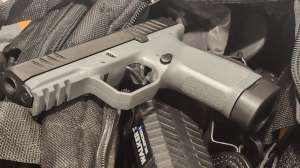
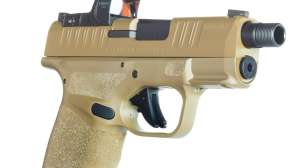
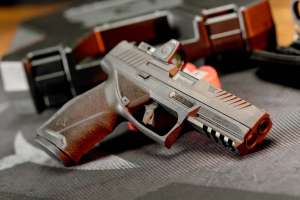
This was taken with the Samsung on full-automatic, handheld. The handgun is propped up with an empty handgun cartridge and is resting on a non-slip work mat purchased at a big-box home-improvement store. To get a lower perspective, the back of the mat is rising up because a shooting sandbag was placed underneath it there. (Photo: Guy Sagi)
Save time, let the camera take control
Going full-manual to get creative on a digital camera for a novice feels like landing a jet without flying lessons — too many confusing controls. That’s why we’re going to focus on the full-auto and program modes, the simplest settings to save retailers time. Every corner of the gun may not always be in tack-sharp focus, but unlike film it doesn’t take cash to develop and uncover errors. View, delete, figure out what you need to change and move on. Professional photographers don’t talk about it, but they do it all the time.
The handheld point-and-shoot used for this article — the 16.3 Magapixel Samsung WB350F, which currently retails for around $129 — was turned to “Auto” or “Program” for each of these images. It was handheld, although as you come to grips with your camera’s more manual modes you can increase how much remains in focus by using a small, even tabletop, tripod and dialing the aperture down. This look takes the simple and inexpensive route.
Focus on the main subject
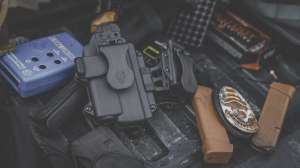
Focus means a lot more than adjusting the lens. If showing the gun is the main objective, think twice before putting wrenches, knives or other gear in until practice makes you fast. Even then, add them one at a time, hit the shutter between and see what you think.
Cluttered done right looks awesome, but the human eye likes to wander. If the main goal is showcasing a firearm, keep the viewer’s attention there.
Giving a gun an interesting angle and/or tilting helps a lot, too. It’s psychological, but a firearm barrel perfectly horizontal is boring compared to one skewed a few degrees. There are times when it’s an advantage, but turn your camera a lot as you take photos — you’ll be surprised what a huge difference subtle shifts in perspective can make.
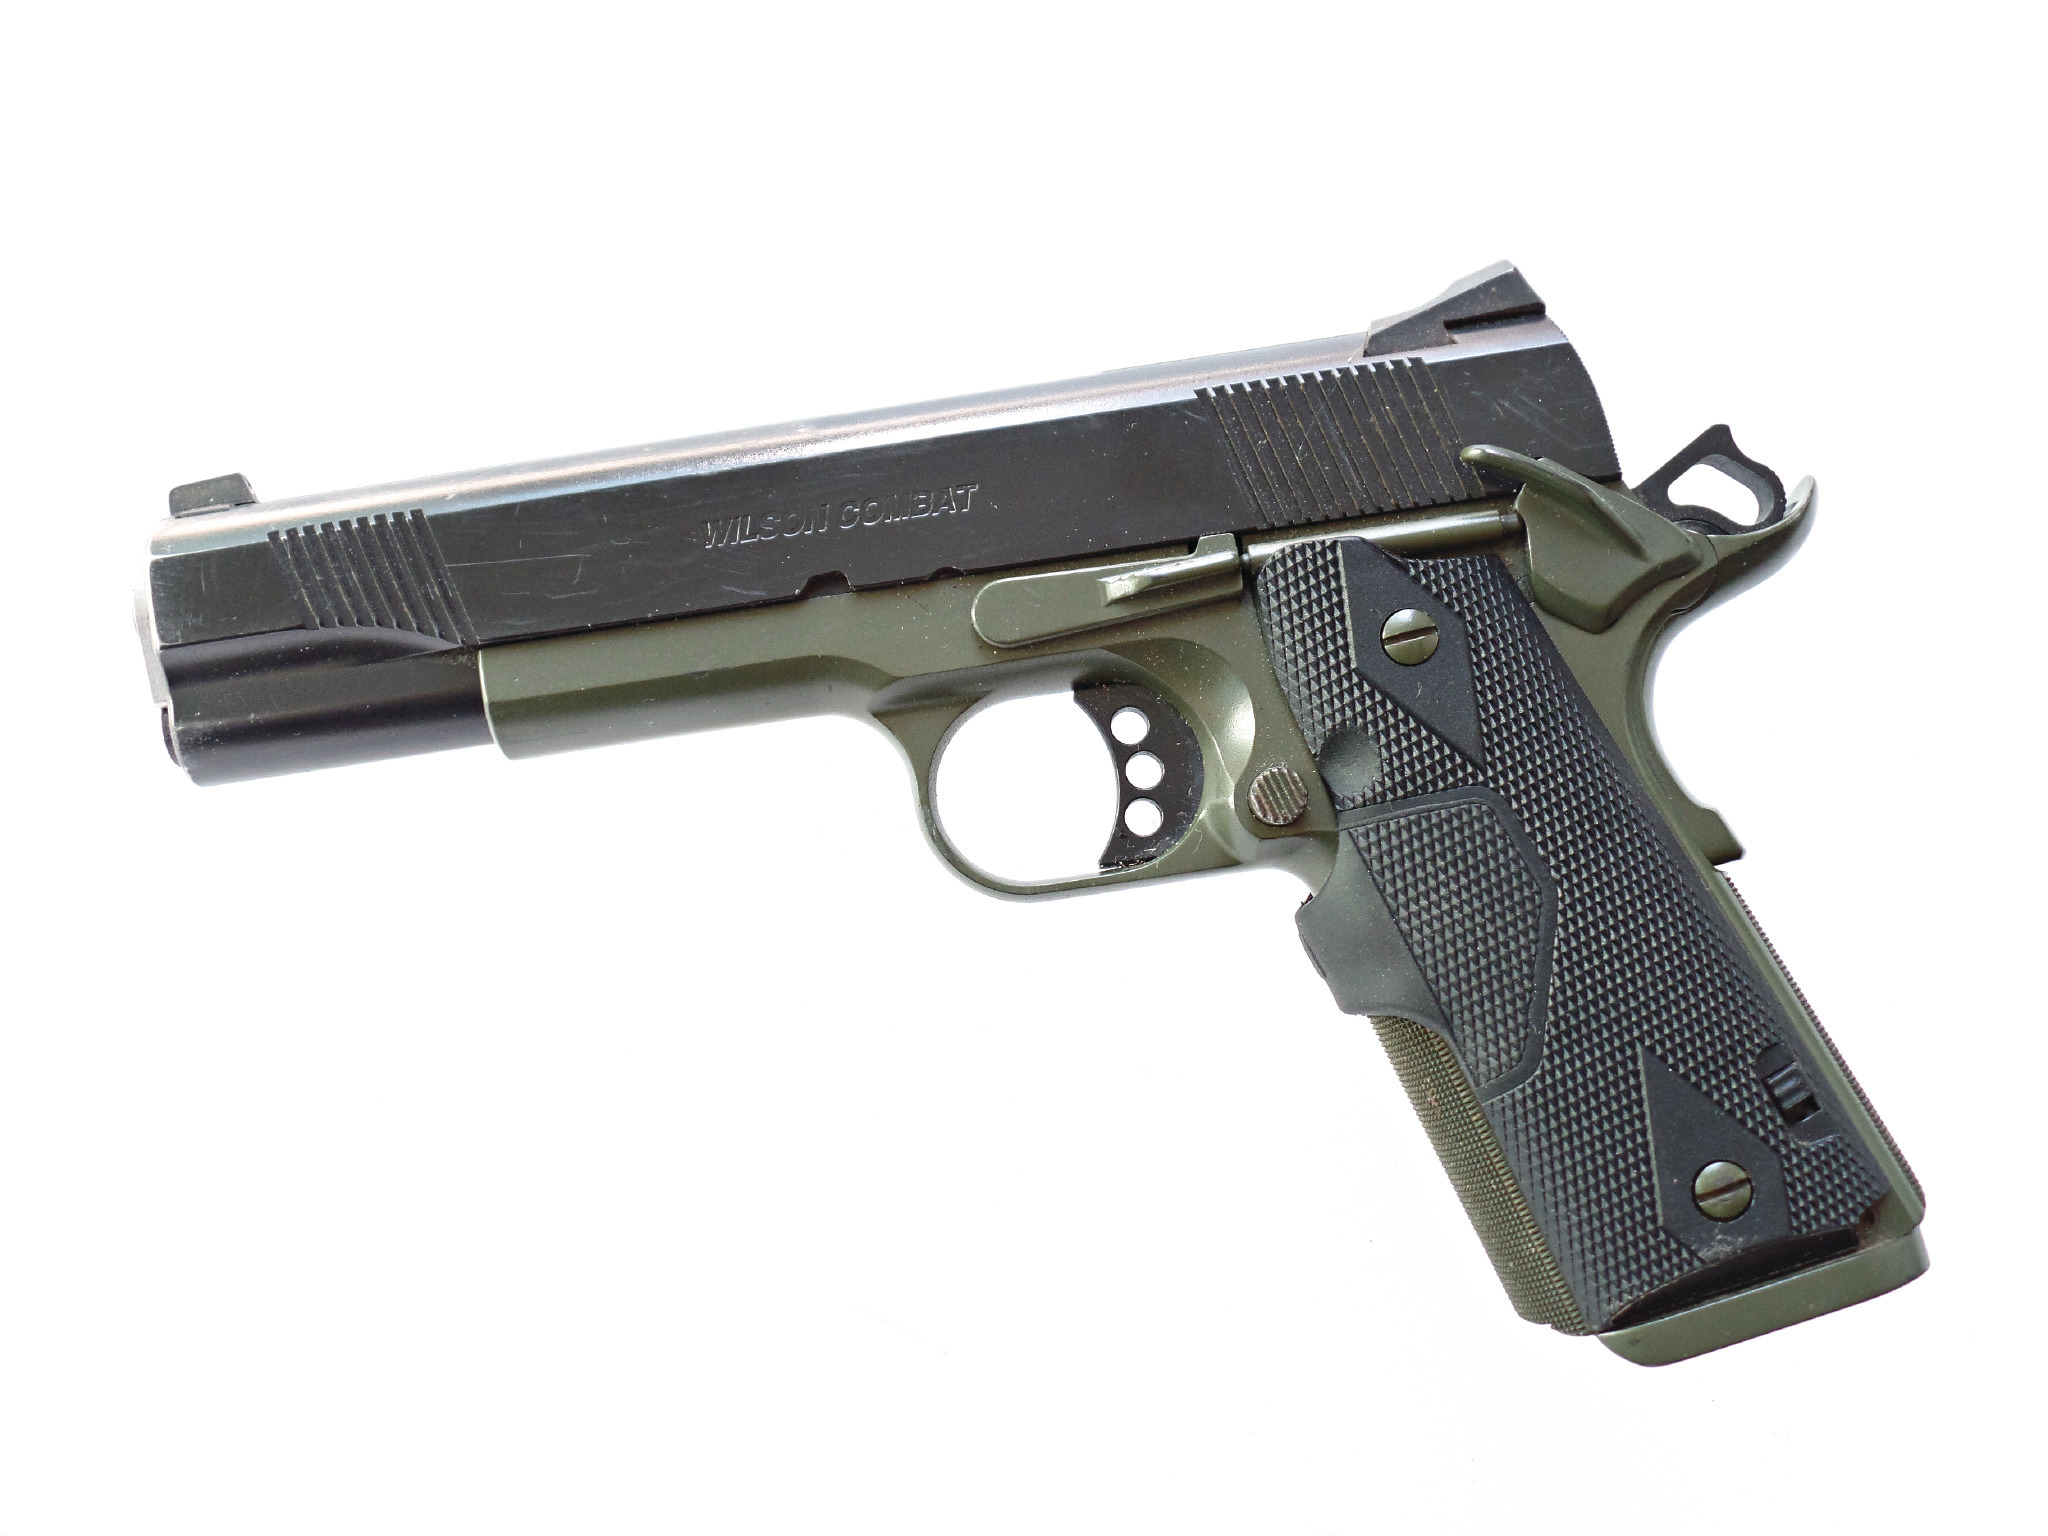
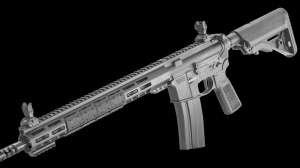
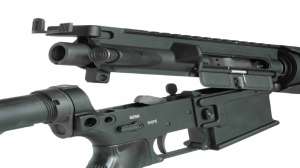
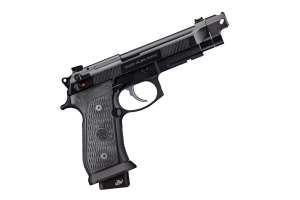
Tactical guns on white are tough, requiring you know how to overexpose by somewhere around two stops. On the Samsung used for this exercise all it took was switching over to program mode, then moving exposure to +2. The Styrofoam reflecting light back into the triggerguard area is barely visible, but it was left in the frame to showcase how a lot of inexpensive solutions can still be extremely effective. Below is an example of how the gun turned out when it wasn’t there and the metering wasn’t altered. (Photo: Guy Sagi)
Use smart setups and props to help
You can go broke purchasing backgrounds, stands, tripods, tables, tents and everything else to get good product/gun shots. Most of the basics are probably around the store, though.
Empty handgun brass does a great job of propping handguns up off a background — just be careful it doesn’t scratch a finish, show up in the image or throw distracting shadows. It also beats blocking part of the skeletonized trigger with the tired approach of propping the firearm up with a pen.
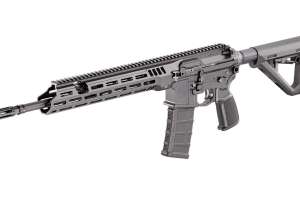
Fujifilm used to come in translucent containers, and I still use three. If you come across something short, fat, flat on two sides and clear enough to allow light through, grab it. Those 35 mm canisters are a great aid when I need to move a long gun like an AR up from a white background to avoid shadows. They’re a real time saver. Opaque props will work, but watch that those shadows don’t sneak into the image.
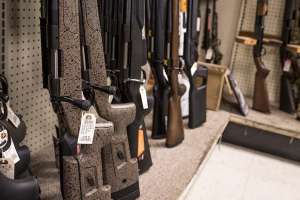
Backgrounds that distract a viewer can defeat the purpose of your efforts, so think simple. That doesn’t mean boring, though. Shop floormats (not the one you’ve worn thin back at the bench) have a non-slip texture repetitious enough that it won’t distract a viewer. For about $20 at a big-box home-improvement store, you have a good start and the black/gray color palate helps a lot with tactical guns. A few shooting mats on your store shelf may work, too, just watch for seams or stitching invading where unwanted.
Visit a craft store and get some poster board, which could set you back maybe $10 if you splurge. If nothing else, get a couple of white ones to start. While you’re there, grab at least one 8 1/2x11-inch sheet of reflective silver craft paper—99 cents last I bought some (more on its use later).
The only limit is your imagination. You’d laugh if I told you how many backgrounds I’ve propped up or held down with shooting sand bags. In fact, they stay with my photography gear.
Lighting makes things pop and shine
Flashes and strobes can be expensive and bring with them a long learning curve. When possible, I like the warm and familiar light source known as the sun. Don’t get me wrong, I avoid direct sunlight like the plague, but the shady spots in my shop are golden when things are bright and sunny outside. On overcast days things turn a little blue, which I can correct in Photoshop, but that takes time most retailers don’t have.
So, identify a workspace where the sun filters in through a window. If there’s bright shade adjacent to it, or you can create it with a curtain, start there. Avoid the direct light in the beginning and turn off overpowering shop lights nearby. The yellow and green they cast plugs things up and usually require software to remove.
Setups make the difference
The absolute toughest image you’re going to face — believe it or not — will probably be your black gun on a white background. We see it all the time, but with your point-and-shoot on auto or program, the camera adjusts to properly expose that white background, and turns a sexy tactical gun into a black and ugly blob.
The answer is simple — overexpose — and that’s the only control you’ll need to find and master on your camera using this indirect sun technique. On the camera I used, program mode allowed me to dial up two stops (that’s the plus side of the meter), auto did not. It might be somewhere else on your camera, but get familiar with it.
Lay out the white posterboard in that bright shady spot. It can be a real balancing act, but elevate the gun slightly above the background using empty brass or the prop you’ve selected (Hint: Start with a handgun because it’s easier). Now standing above, and perfectly parallel, snap a picture on full auto. The gun will be black or a useless mottled gray. Adjust camera settings to overexpose two stops (usually the most allowed without going to full manual) and take another image. More than likely the white background is bleached out, but details in the gun are finally customer-friendly visible.
Well, the side of the gun facing away from the sunlight source isn’t too good, though, is it? Lay a piece of white Styrofoam on that side of the gun. It’ll reflect extra light onto that surface, remedying the problem and probably killing shadows from those uprights underneath. Leave the camera settings at +2 over exposure and take the photo again. See the difference? If not, move the Styrofoam closer to the gun.
Now lay down your floor mat or experimental background, again in the bright shade. Prop and adjust gun position until it looks good through the camera. One side will be darker than the other, so use Styrofoam or that reflective silver craft paper (propped against a sandbag, of course) to bounce more light there. Make sure the camera isn’t set to over expose and hit the shutter. You can try using the flash in both of these situations, but, depending on the camera, the results can be ugly.
Want things little more edgy? Use a freestanding makeup mirror — a great score at flea markets — to literally redirect light onto the gun’s texturing. Toss some colored and translucent wrapping paper and you’ve got full auto, point-and-shoot orange highlights. When you’re comfortable, it’s time to move things into the direct light with your mirror/foam/reflective paper to reduce shadows to a pleasure level.
The images won’t be textbook perfect, especially in the beginning, but with some practice, producing pictures your loyal and prospective customers will enjoy is fast and easy. You’ll get faster with each session and, best of all, this marketing effort doesn’t break the bank.